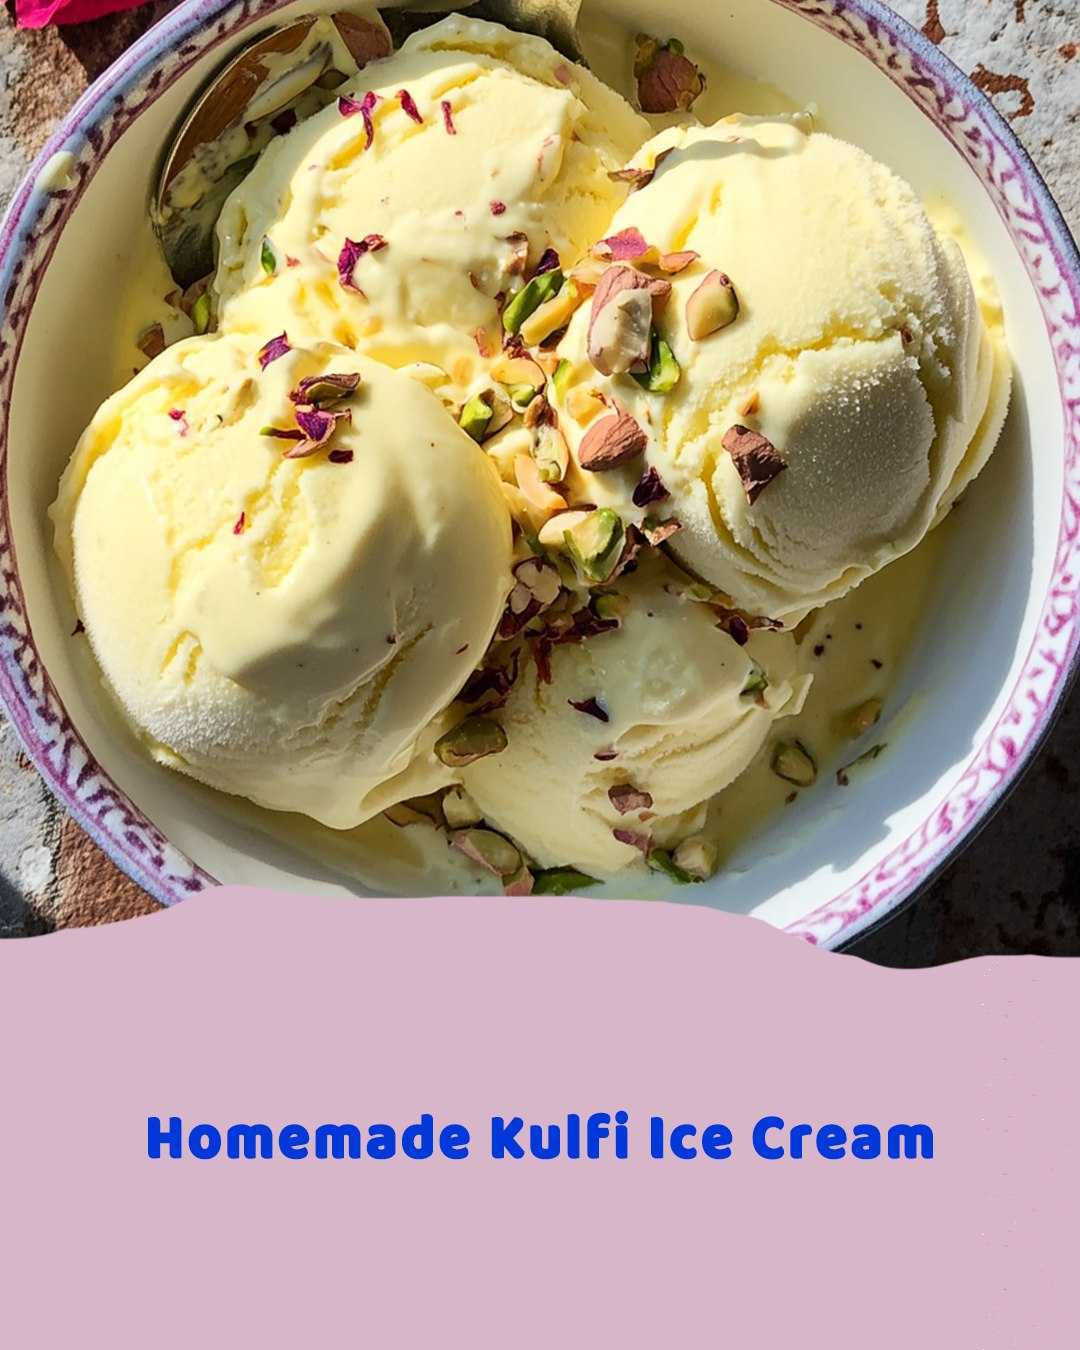
### Instructions for Making Homemade Kulfi Ice Cream
#### 1. **Reduce the Milk**
In a large, heavy-bottomed saucepan, pour the **whole milk** and bring it to a boil over medium heat. Stir occasionally to prevent the milk from burning at the bottom. Once it reaches a boil, reduce the heat to low and let the milk simmer gently.
Allow the milk to reduce for about 30-40 minutes, stirring occasionally, until the volume reduces by about half. This slow reduction process is key to creating Kulfi’s rich, creamy texture.
#### 2. **Add Sweetened Condensed Milk**
Once the milk has reduced, add the **sweetened condensed milk** and **sugar** to the pan. Continue to simmer the mixture on low heat, stirring often to ensure the sugar dissolves fully and the mixture thickens further.
If you’re adding **heavy cream** for extra richness, now is the time to stir it in. This will help to create a smoother, silkier texture for your Kulfi.
#### 3. **Infuse Flavorings**
To infuse the mixture with **cardamom**, simply add the **ground cardamom** to the milk and stir well. If you’re using **saffron**, warm a tablespoon of milk in a small bowl and add the saffron threads. Let them soak for 5-10 minutes to release their color and fragrance, then add it to the milk mixture.
If you like the floral aroma of **rosewater**, add about 2 tablespoons to the mixture as well. Keep simmering the mixture for another 10 minutes, allowing all the flavors to meld together.
#### 4. **Add Chopped Nuts**
Once the mixture has thickened and is infused with flavor, stir in the chopped **pistachios** or any other nuts of your choice, such as almonds or cashews. The nuts add both texture and flavor to the Kulfi.
#### 5. **Chill the Mixture**
Once the Kulfi mixture has reached a creamy, thick consistency, remove it from the heat and allow it to cool to room temperature. Then, refrigerate it for at least 2-3 hours to chill completely. This step is essential for achieving the ideal consistency and texture.
#### 6. **Freeze the Kulfi**
After the mixture has chilled, pour it into Kulfi molds or popsicle molds. If you don’t have Kulfi molds, you can use small cups or even ice cube trays. Insert a **wooden popsicle stick** into the center of each mold if using. Alternatively, you can leave the Kulfi in a flat dish and cut it into slices after freezing.
Place the molds in the freezer and let the Kulfi freeze for at least 6 hours or overnight, depending on the size of the molds. The longer it freezes, the firmer the texture will become.
#### 7. **Serve and Enjoy**
Once the Kulfi is fully frozen, it’s ready to serve! To release the Kulfi from the molds, you can briefly dip the outside of the mold into warm water for a few seconds to loosen it. If using a flat dish, simply cut the Kulfi into slices or squares.
Serve your **Homemade Kulfi Ice Cream** as is or garnish with extra **chopped pistachios**, a drizzle of **rose syrup**, or a sprinkle of **saffron** for added elegance.
### Tips for Making the Best Homemade Kulfi
– **Use Whole Milk**: For the richest, creamiest Kulfi, it’s best to use **full-fat** whole milk. Low-fat milk will not yield the same creamy texture.
– **Flavor Variations**: You can experiment with different flavors, like **mango**, **rose**, **pistachio**, or **saffron**. Simply adjust the flavorings to your taste or use fruit purees for a refreshing twist.
– **Nuts**: Feel free to mix up the nuts — **almonds**, **cashews**, and **pistachios** are all excellent choices. You can also toast them lightly before adding them to enhance their flavor.
– **No Popsicle Molds?** If you don’t have traditional Kulfi molds, use a muffin tin, small cups, or even ice cube trays. Just be sure to insert the sticks at the right time (before freezing) so they stay upright.
– **Texture**: Since Kulfi is not churned like regular ice cream, it’s naturally denser. The longer it freezes, the firmer it will become, so don’t rush the freezing process!
### Why You’ll Love Homemade Kulfi Ice Cream
– **Rich and Creamy**: Unlike regular ice cream, Kulfi has a dense, velvety texture that makes it incredibly indulgent.
– **Authentic Flavor**: With ingredients like **cardamom**, **saffron**, and **rosewater**, Kulfi is full of unique and aromatic flavors that are distinctly different from Western ice creams.
– **Customizable**: Kulfi can be made with many different flavors and toppings, so you can experiment and make it your own. Whether you prefer fruity, nutty, or spiced, the possibilities are endless.
– **No Churn Required**: Making Kulfi is simple and doesn’t require an ice cream maker. You just need a few ingredients and time to let the flavors develop and freeze.
### Final Thoughts
**Homemade Kulfi Ice Cream** brings the flavors and traditions of India right to your kitchen. With its smooth, rich texture and aromatic flavorings, Kulfi is the perfect treat for anyone looking to try something different from traditional ice cream. Plus, making it at home gives you the freedom to experiment with your favorite flavors and ingredients.
Whether you’re enjoying Kulfi during a summer celebration or after a family dinner, it’s a dessert that’s sure to leave a lasting impression. So why not give this **Homemade Kulfi Ice Cream** recipe a try? It’s a sweet, creamy, and refreshing treat that everyone will love!
