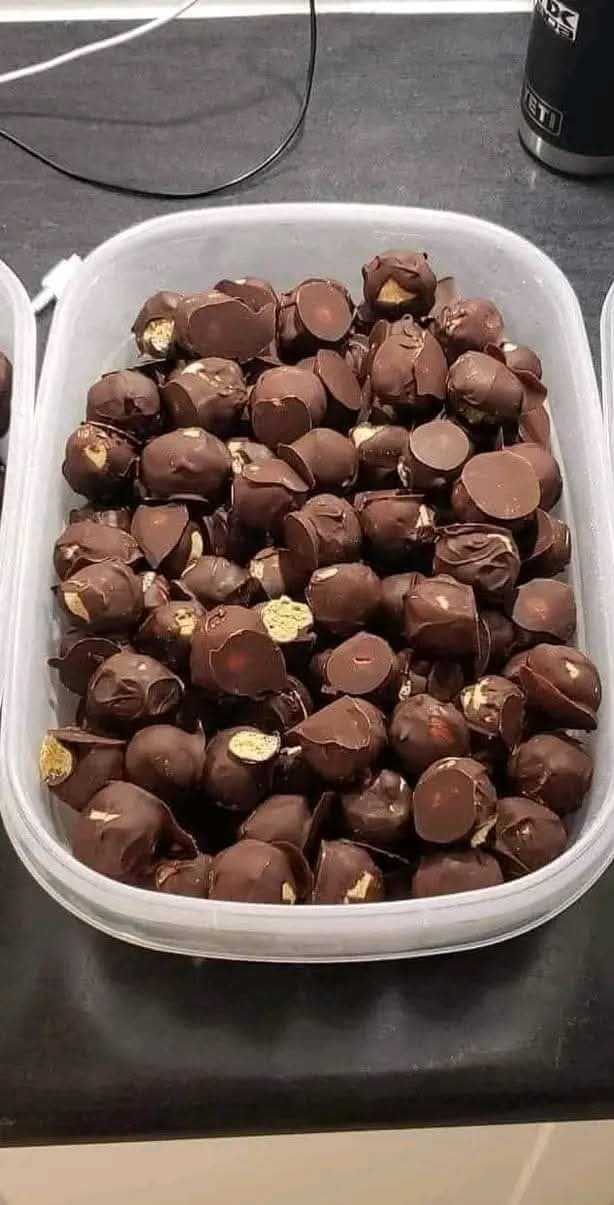
### Step-by-Step Instructions for No-Bake Peanut Butter Balls
#### 1. **Mix the Peanut Butter Base**
In a large mixing bowl, combine the **peanut butter** and **softened butter**. Use a spatula or electric mixer to blend them together until smooth. The butter helps to create a rich, creamy texture that holds the peanut butter balls together.
#### 2. **Add the Dry Ingredients**
Next, add the **powdered sugar**, **graham cracker crumbs**, and **vanilla extract** to the peanut butter mixture. If you’re using salt, add a pinch now to enhance the flavor of the peanut butter. Stir the mixture well until everything is fully combined. You should end up with a thick dough-like texture that is easy to shape into balls.
#### 3. **Form the Balls**
Once the mixture is combined, it’s time to shape it into balls. Use a spoon or your hands to scoop out small portions of the mixture and roll them into **1-inch balls**. This recipe should make around 20-25 balls, depending on the size you choose. Arrange the formed balls on a baking sheet lined with **parchment paper** to prevent sticking.
#### 4. **Chill the Peanut Butter Balls**
Place the baking sheet with the peanut butter balls in the refrigerator and let them chill for **15-30 minutes**. Chilling helps the balls firm up and makes them easier to dip in chocolate.
#### 5. **Melt the Chocolate Coating**
While the peanut butter balls are chilling, melt the **chocolate chips**. You can do this by placing the chocolate in a heatproof bowl and microwaving it in **30-second intervals**, stirring in between until smooth. Alternatively, you can melt the chocolate in a double boiler over low heat. Add a tablespoon of **vegetable oil** to the melted chocolate to help it coat the peanut butter balls more easily and create a smoother finish.
#### 6. **Coat the Peanut Butter Balls in Chocolate**
Once the peanut butter balls have chilled, take them out of the fridge and dip each ball into the melted chocolate, using a fork or skewer to help coat them evenly. Gently tap the fork on the side of the bowl to remove any excess chocolate before placing the chocolate-coated balls back on the parchment-lined baking sheet.
#### 7. **Chill Again**
Once all the peanut butter balls are coated in chocolate, place the tray back in the refrigerator for about **15-20 minutes** to allow the chocolate to set.
#### 8. **Serve and Enjoy**
Once the chocolate has hardened, your no-bake peanut butter balls are ready to enjoy! Store them in an airtight container in the refrigerator for up to a week. You can also freeze them for longer storage.
### Tips for Making Perfect No-Bake Peanut Butter Balls
– **Use a Good Quality Peanut Butter**: The flavor of the peanut butter is key to making these balls taste amazing, so use a natural or high-quality peanut butter with minimal added ingredients (no need for extra sugar or preservatives).
– **Chill the Dough**: Don’t skip the step of chilling the peanut butter balls before dipping them in chocolate. Chilling helps the balls hold their shape and prevents them from falling apart when you dip them in the melted chocolate.
– **Experiment with Coatings**: While chocolate is the traditional coating, you can also roll the peanut butter balls in other ingredients such as **sprinkles**, **crushed nuts**, or **shredded coconut** for added flavor and texture.
– **Make Them Gluten-Free**: Simply use **gluten-free graham cracker crumbs** or a gluten-free biscuit substitute to keep these peanut butter balls suitable for a gluten-free diet.
– **Use a Variety of Chocolates**: Experiment with different types of chocolate for the coating—milk chocolate is the most common, but dark or white chocolate can give these treats a unique twist.
### Serving Suggestions
– **Snack Time**: No-bake peanut butter balls make for a great on-the-go snack, offering a combination of protein from the peanut butter and sweetness from the sugar and chocolate.
– **Party Platter**: These little treats can be arranged on a platter for a sweet addition to any party, holiday, or celebration.
– **Gift Giving**: Package them in a beautiful gift box or mason jar, and you’ve got the perfect homemade gift for friends and family.
### Storing No-Bake Peanut Butter Balls
– **Refrigeration**: Store the peanut butter balls in an airtight container in the refrigerator for up to **1 week**. The cold storage keeps the chocolate coating firm and prevents the balls from becoming too soft.
– **Freezing**: You can also freeze the peanut butter balls for up to **2 months**. To freeze, arrange them in a single layer on a baking sheet and freeze them for about an hour before transferring them to a freezer-safe container or bag. This will prevent them from sticking together.
### Final Thoughts
**No-Bake Peanut Butter Balls** are a must-try recipe for anyone who loves a quick, satisfying, and tasty treat. With minimal ingredients and prep time, you’ll have a batch of these irresistible peanut butter balls ready in no time. Whether you’re craving a snack or looking for a simple homemade gift, these peanut butter balls are sure to hit the spot.
So, next time you need a sweet treat but don’t want to turn on the oven, give these no-bake peanut butter balls a try. They’re sure to become a favorite in your recipe collection!
