## **Instructions**
### **Step 1: Prepare the Custard Base**
1. In a medium saucepan, combine the **milk**, **heavy cream**, **sugar**, and **salt**.
2. Heat the mixture over medium heat, stirring occasionally until the sugar dissolves and the mixture is warm, but not boiling.
3. In a separate bowl, whisk the **egg yolks** until smooth. Gradually pour a small amount of the warm milk mixture into the egg yolks, whisking constantly to temper the eggs. This helps prevent the yolks from scrambling.
4. Slowly add the egg yolk mixture back into the saucepan with the rest of the warm milk mixture, whisking continuously.
### **Step 2: Cook the Custard**
1. Continue to cook the mixture over medium heat, stirring constantly with a wooden spoon or silicone spatula, until it thickens slightly and coats the back of the spoon. This should take about **8-10 minutes**.
2. To test if the custard is ready, dip a spoon into the mixture and run your finger along the back of the spoon. If the line holds, the custard is thick enough. Be careful not to let it boil.
### **Step 3: Cool the Custard**
1. Once the custard has thickened, remove it from the heat and stir in the **vanilla extract**.
2. Pour the custard through a fine-mesh strainer into a clean bowl to remove any bits of cooked egg.
3. Let the custard cool to room temperature, then cover it with plastic wrap and refrigerate for at least **4 hours**, or overnight if possible. The colder the mixture, the smoother the ice cream will be.
### **Step 4: Churn the Ice Cream**
1. Once the custard is thoroughly chilled, pour it into an **ice cream maker**. Follow the manufacturer’s instructions to churn the ice cream until it thickens and reaches a soft-serve consistency (usually about **20-25 minutes**).
2. If you don’t have an ice cream maker, you can still make ice cream! Simply pour the custard into a shallow dish and place it in the freezer. Every 30 minutes, stir the mixture with a fork to break up ice crystals until the ice cream is frozen and creamy (this will take about **3-4 hours**).
### **Step 5: Freeze the Ice Cream**
1. Once the ice cream has reached your desired consistency, transfer it to an airtight container and freeze for at least **2 hours** to firm up.
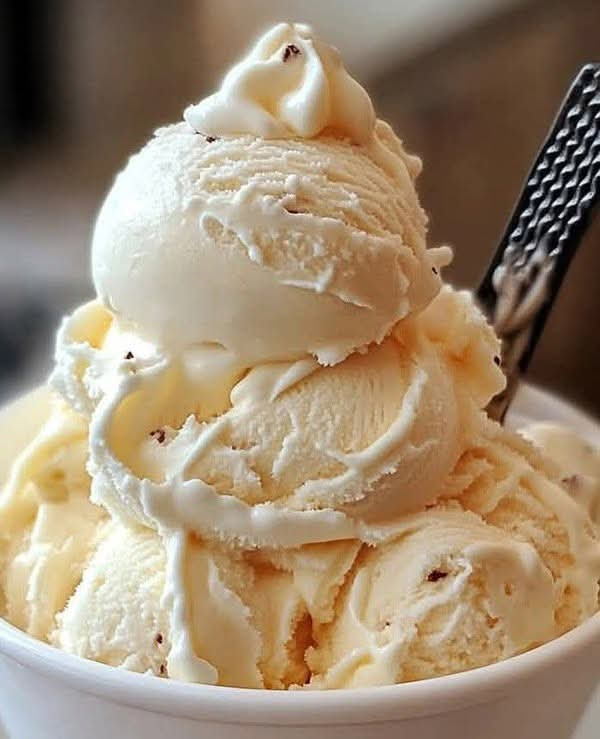
2. After freezing, scoop and serve your creamy, homemade vanilla ice cream!
## **Serving Suggestions**
– Serve on its own for a simple, classic treat.
– Top with **chocolate sauce**, **fresh berries**, or **sprinkles** for a fun twist.
– Use as a base for sundae bars, complete with your favorite toppings like **nuts, whipped cream**, and **caramel sauce**.
– Pair with **warm apple pie**, **chocolate cake**, or a freshly baked **cookie** for an unbeatable dessert combo.
## **Storage & Tips**
– **Storage**: Store the ice cream in an **airtight container** in the freezer for up to **2 weeks**. To prevent ice crystals from forming, press a piece of plastic wrap directly onto the surface of the ice cream before sealing the container.
– **Creamy Texture**: If the ice cream gets too hard after freezing, let it sit at room temperature for a few minutes to soften before scooping.
– **Make It Your Own**: Add mix-ins like **chocolate chips, crushed cookies**, or **swirls of caramel** during the last few minutes of churning for a customized treat.
## **Variations & Customizations**
✨ **Chocolate Vanilla** – Swirl in some **chocolate sauce** or **cocoa powder** for a chocolate-vanilla twist.
✨ **Nutty Vanilla** – Add **chopped pecans, almonds**, or **hazelnuts** for extra texture.
✨ **Fruit Flavors** – Stir in mashed **berries**, **peach puree**, or **mango** during the last few minutes of churning for a fruity version.
**Homemade Vanilla Ice Cream** is a timeless dessert that brings joy in every scoop. With its creamy texture and pure vanilla flavor, it’s sure to be a crowd-pleaser. Enjoy the satisfaction of making your own ice cream, and feel free to get creative with mix-ins and toppings!
Would you like more tips on homemade desserts or any variations to try? 😊
