### Instructions:
#### Step 1: Prepare the Dry Ingredients
1. In a large bowl, whisk together the **flour**, **baking powder**, **salt**, and **sugar**. This combination will ensure your pancakes rise perfectly and have just the right balance of flavor.
#### Step 2: Combine the Wet Ingredients
2. In a separate bowl, beat together the **milk**, **egg**, **melted butter**, and **vanilla extract**. The melted butter will add richness to the pancakes, while the vanilla brings a touch of warmth and sweetness.
#### Step 3: Mix the Wet and Dry Ingredients
3. Gradually pour the wet ingredients into the dry ingredients, stirring gently with a spoon or whisk until just combined. Be careful not to overmix—it’s okay if the batter is a little lumpy. Overmixing can result in tough pancakes, and we want them light and fluffy!
#### Step 4: Heat the Griddle or Skillet
4. Heat a **non-stick skillet** or **griddle** over medium heat. Lightly grease it with a little butter or cooking spray to prevent sticking. You’ll know it’s hot enough when a drop of water sizzles when it hits the surface.
#### Step 5: Cook the Pancakes
5. Once your skillet is ready, spoon about **1/4 cup** of batter onto the skillet for each pancake. Spread it out slightly into a round shape.
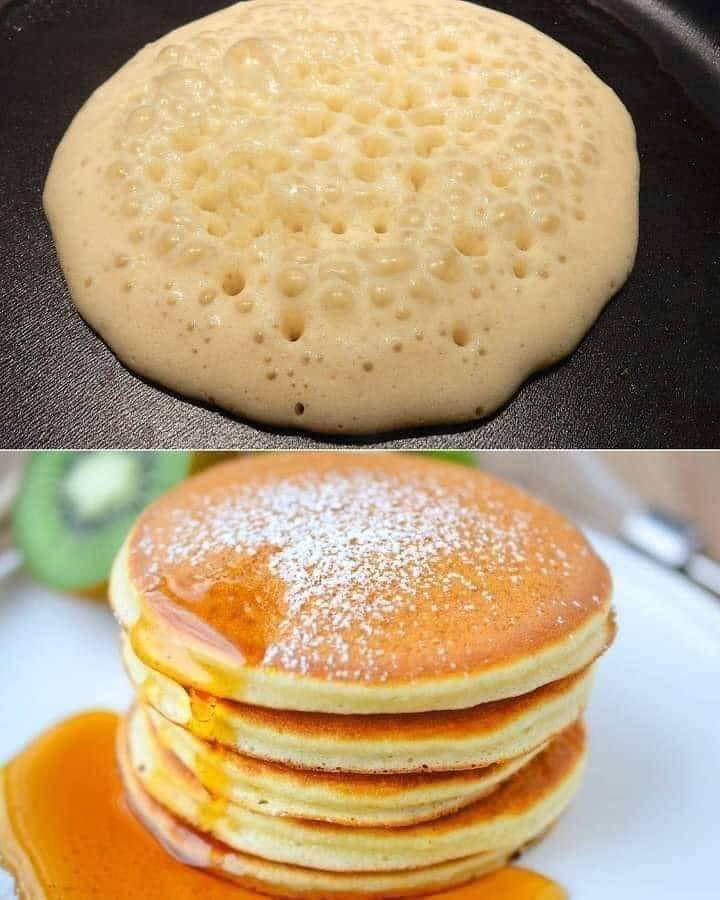
6. Cook until the edges begin to look set and bubbles form on the surface of the pancake, about **2-3 minutes**. Flip the pancake and cook for an additional **1-2 minutes** on the other side, until golden brown.
#### Step 6: Serve and Enjoy
7. Remove the pancakes from the skillet and stack them on a plate. Serve immediately with your favorite toppings—**maple syrup**, **butter**, **fresh fruit**, or even a dollop of whipped cream. Enjoy the warmth and comfort that only a stack of homemade pancakes can bring!
### Tips for Perfect Pancakes:
– **Don’t Overmix**: As mentioned earlier, a few lumps in the batter are perfectly fine. Overmixing the batter can make the pancakes dense and tough.
– **Keep the Heat Medium**: If the griddle or pan is too hot, the pancakes might burn on the outside before cooking through on the inside. Keep the heat at medium and adjust as necessary.
– **Add-ins and Toppings**: Want to jazz up your pancakes? Try adding **chocolate chips**, **blueberries**, or **banana slices** to the batter before cooking. For toppings, consider **pecans**, **strawberries**, or even a dusting of powdered sugar for extra flair!
– **Rest the Batter**: If you have time, let the batter rest for about 5 minutes. This can help the pancakes rise a little higher and become even fluffier.
– **Keep Pancakes Warm**: If you’re making a big batch, keep the pancakes warm by placing them on a baking sheet in a preheated oven at 200°F until ready to serve.
### Why These Pancakes Are a Classic:
What makes these pancakes so special? They’re the epitome of comfort food. There’s nothing complicated about them—just simple, wholesome ingredients that come together to create the perfect breakfast. These **Old Fashioned Pancakes** don’t need any frills; they’re delicious just as they are.
For many of us, pancakes are tied to memories of family mornings, shared meals, and lazy weekends. Whether they were made by your grandmother or your parents, these pancakes have a way of making you feel at home, no matter where you are. They’re the kind of dish that brings people together, and they’ll never go out of style.
### Keep Getting More Delicious Recipes!
If you loved these **Old Fashioned Pancakes**, be sure to keep getting more mouthwatering recipes straight to your inbox! Simply type “YES” below to keep receiving tasty, time-honored dishes that will bring comfort and joy to your table. From breakfast classics to dinner favorites, I’ve got plenty more to share with you.
### Enjoy!
There’s nothing better than a stack of warm, fluffy pancakes to start your day. These **Old Fashioned Pancakes** are the kind of meal that makes mornings special. So go ahead—whip up a batch and enjoy the simple, nostalgic flavors that will make your morning (or afternoon) feel just a little bit brighter. Happy cooking!
