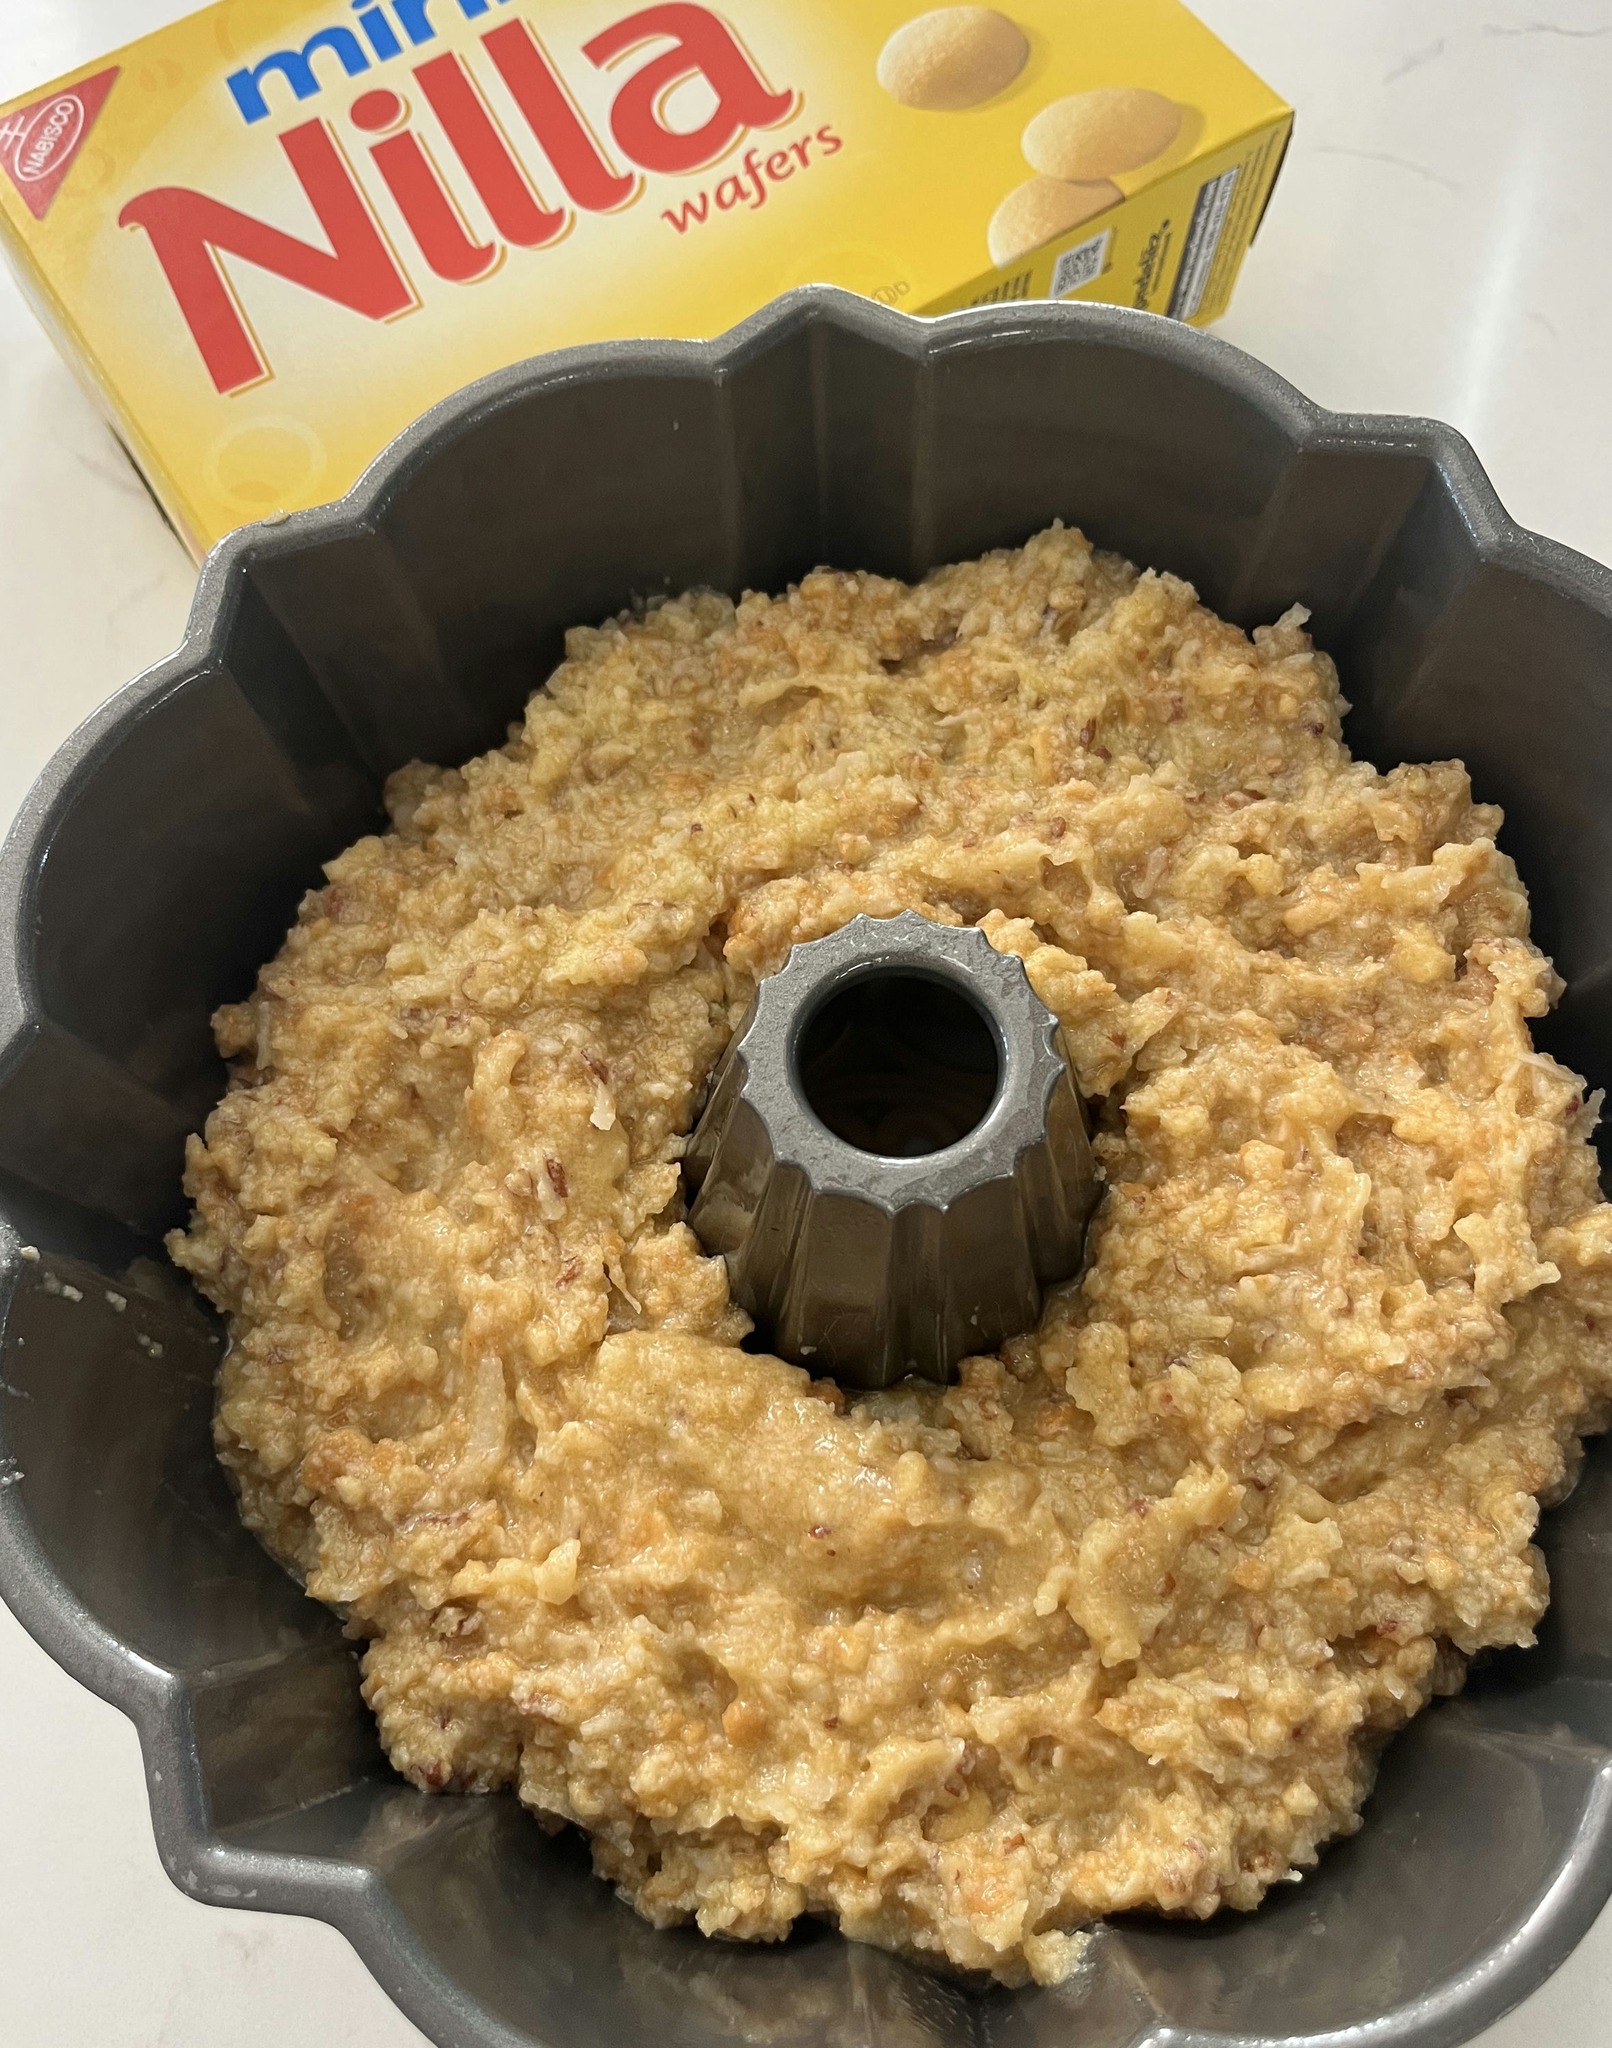
### **Instructions**
#### **Step 1: Prepare the Cream Filling**
1. **Whip the cream**: In a large mixing bowl, whip the heavy cream until it forms soft peaks. This means the cream should hold its shape but still have a soft, billowy texture. You can use a hand mixer or a stand mixer for this step.
2. **Add the vanilla and condensed milk**: Once the cream has been whipped, add the vanilla extract and sweetened condensed milk. Continue to beat until stiff peaks form. The mixture should be thick and creamy. If you like your filling a little sweeter, you can add the optional tablespoon of powdered sugar at this point.
#### **Step 2: Layer the Cake**
1. **Prepare the dish**: Use an 8×8 or 9×9-inch baking dish for assembling the cake. Lightly grease the bottom of the dish or line it with parchment paper for easier removal later.
2. **Create the first layer**: Start by arranging a layer of vanilla wafer cookies at the bottom of the dish. Don’t worry if the cookies don’t fit perfectly; just break a few in half to fill in any gaps.
3. **Add the cream filling**: Spread half of the whipped cream mixture over the vanilla wafers, smoothing it out with a spatula.
4. **Repeat the layers**: Add another layer of vanilla wafers, followed by the remaining whipped cream mixture. Repeat this process until all the ingredients have been used, finishing with a final layer of cream on top.
#### **Step 3: Chill the Cake**
1. **Refrigerate**: Once the cake is assembled, cover it with plastic wrap or foil and place it in the refrigerator for at least 4 hours, or overnight if possible. This chilling time allows the vanilla wafers to soften and absorb the flavors of the cream, creating a cake-like texture.
#### **Step 4: Prepare the Glaze**
1. **Make the glaze**: While the cake is chilling, prepare the glaze by whisking together the powdered sugar, vanilla extract, and milk in a small bowl. Start with 1 teaspoon of milk and add more if necessary to achieve a smooth, pourable consistency. The glaze should be thick enough to drizzle over the cake but thin enough to spread evenly.
#### **Step 5: Serve the Cake**
1. **Drizzle the glaze**: Once the cake has chilled and the vanilla wafers have softened, drizzle the glaze over the top of the cake. You can also add a few extra crushed vanilla wafers on top for garnish if you like.
2. **Slice and enjoy**: Slice the cake into squares or rectangles and serve chilled. Enjoy the creamy, vanilla-flavored dessert that’s as delightful to eat as it is to look at!
### **Why This Recipe Works**
The beauty of the **Vanilla Wafer Cake** lies in its simplicity. By layering crisp vanilla wafers with a smooth and rich whipped cream filling, you create a dessert that’s soft yet structured, with just the right balance of sweetness. The sweetened condensed milk adds a touch of richness, while the whipped cream keeps the dessert light and airy.
The glaze, made with powdered sugar and vanilla, adds a final touch of sweetness and gives the cake an elegant, polished finish. The best part? You don’t have to worry about baking or complicated techniques—this is a cake that’s easy to make, but still feels like a special treat.
### **Tips for Perfecting Your Vanilla Wafer Cake**
– **Chill the cake long enough**: Be sure to allow enough time for the cake to chill and set in the refrigerator. This step is crucial to achieving the right texture and allowing the flavors to meld together.
– **Add flavor variations**: While the vanilla flavor is classic, you can experiment by adding other flavors to the cream filling. A little bit of lemon zest, cinnamon, or even a splash of almond extract can elevate the taste.
– **Make it ahead of time**: This cake actually gets better the longer it sits, so feel free to make it a day ahead of time for a hassle-free dessert on the day of your event.
– **Use other cookies**: If you’re not a fan of vanilla wafers, you can try using graham crackers or other cookies that are similar in texture.
### **Serving Suggestions**
This **Vanilla Wafer Cake** is a versatile dessert that pairs wonderfully with a variety of dishes and occasions:
– **Serve with coffee or tea**: This cake is perfect for an afternoon tea or coffee break, offering a light, sweet treat to accompany your favorite hot beverage.
– **Top with fruit**: Serve slices of the cake with fresh berries or fruit compote for an extra burst of flavor and color.
– **Add a scoop of ice cream**: For a more indulgent treat, serve the cake with a scoop of vanilla or fruit-flavored ice cream on the side.
### **Final Thoughts**
The **Vanilla Wafer Cake** is a wonderfully simple, yet incredibly delicious dessert that’s sure to impress. Whether you’re serving it for a casual family dinner or a special celebration, it’s a treat that’s easy to make and even easier to enjoy. With its creamy filling, subtle sweetness, and no-bake convenience, this cake is bound to become a favorite in your dessert repertoire. So, grab some vanilla wafers and whip up this simple, delightful cake that will be a hit at your next gathering!
