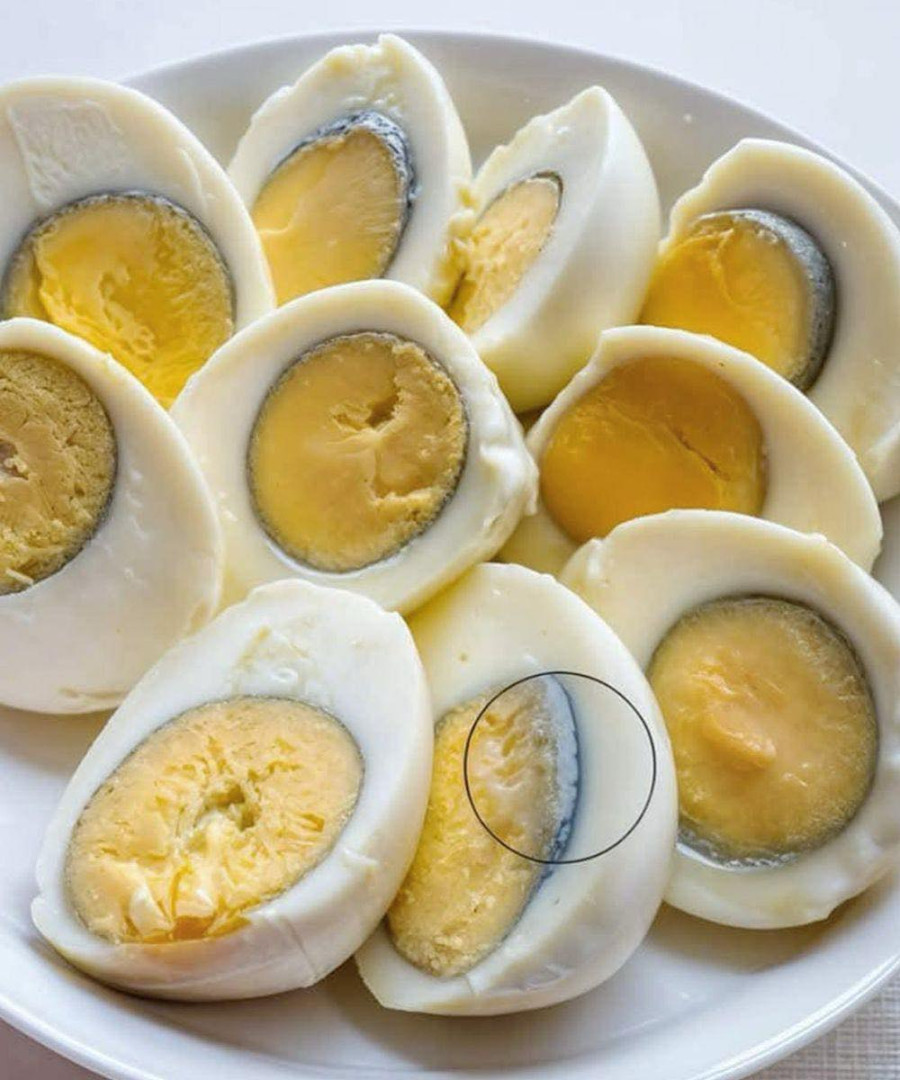
Absolutely! Here’s an informative and easy-to-follow article for your recipe:
How to Make Perfect Hard-Boiled Eggs Every Time — Without That Ugly Green Ring
There’s nothing more satisfying than a perfectly hard-boiled egg — creamy yolk, firm white, and no mysterious gray-green ring around the center. Yet, so many of us have struggled with overcooked eggs, stubborn shells, or runny yolks when all we wanted was simple perfection.
The good news? Perfect hard-boiled eggs are easier than you think — and once you learn this method, you’ll never go back to guessing. Whether you’re meal prepping, making deviled eggs, or just enjoying them as a snack, here’s how to get it right every single time.
🥚 What Causes the Green Ring?
That greenish-gray ring around the yolk is caused by overcooking. When eggs cook too long or at too high a temperature, the iron in the yolk reacts with the sulfur in the white, forming iron sulfide — totally safe to eat, but not so pretty to look at.
To avoid it, the key is gentle cooking and quick cooling.
✅ Ingredients & Tools
- Fresh eggs (as many as you like, in a single layer)
- Water (enough to cover eggs by 1 inch)
- Ice or cold water for an ice bath
- A saucepan with a lid
🔥 Step-by-Step: Perfect Hard-Boiled Eggs
1. Place Eggs in a Pot
Arrange eggs in a single layer in a saucepan. Don’t stack them — they should all sit flat on the bottom.
2. Cover with Cold Water
Add enough cold water to cover the eggs by about an inch.
3. Bring to a Boil
Place the pot over medium-high heat. Once the water just begins to boil (you’ll see a few large bubbles), turn off the heat immediately and cover the pot with a lid.
🔑 Tip: This gentle heat method prevents overcooking and helps avoid the green ring.
4. Let Sit – Timing Matters
Let the eggs sit in the hot water for:
- 9–10 minutes for fully cooked yolks (perfect for deviled eggs or slicing)
- 6–8 minutes for slightly softer centers (great for salads or ramen)
5. Transfer to an Ice Bath
Immediately move the eggs into a bowl of ice water (or very cold water) to stop the cooking process. Let them cool for at least 5–10 minutes.
🧊 Why the Ice Bath Is Essential
The ice bath:
- Prevents overcooking (no green ring!)
- Makes peeling easier by helping the membrane separate from the shell
- Cools the eggs quickly so they’re ready to store or use
-
